Oh My Zsh is one of the most famous solutions for enhancing your terminal with additional features, plugins, and themes. After my last setup and configuration in 2017/2018, I decided it was time to update my entire configuration. I also took this opportunity to explore new plugins and themes that have become available.
Overview
As a tech enthusiast who spends a lot of time in the terminal, I know how essential it is to have a well-configured terminal environment. I chose zsh early on, drawn by its flexibility and customizability. Oh My Zsh is probably the best-known way to extend a zsh terminal with themes and plugins, such as Kubernetes, Git, and more.
Oh My Zsh significantly boosts productivity by providing a wide array of shortcuts and features that streamline command-line tasks. Some of the key productivity enhancements include:
- Tab Completion: Easily complete commands, file names, and directory paths with the TAB key.
- Themes: Choose from a variety of themes to change the appearance of the terminal prompt.
- Plugins: Enhance functionality with plugins for Git, Docker, syntax highlighting, and more.
To mention a few examples. The open-source community is constantly evolving, offering an increasing number of themes and plugins.
In this article, I will provide a brief overview of how easy it is to set up and configure Oh My Zsh. Our goal is to set up a shell/terminal that supports daily work in a Kubernetes, Python, Ansible, and Git ecosystem. I will explore the setup process, highlight some of the most useful plugins and themes, and provide tips for getting the most out of your terminal.
Preparation
The prerequisites are a zsh as default shell in version 5.0.8 or newer, and git - to clone the files and config.
zsh --version
zsh 5.9 (x86_64-apple-darwin23.0)
In case you do not have zsh already installed, follow the simple instruction.
Additionally, if you have already an Oh My Zsh setup, you need to remove the existing directory $HOME/.oh-my-zsh.
Setup
The setup works by using install.sh from the GitHub repo. After the manual inspection, exec the script on your local (macOS) machine.
curl https://raw.githubusercontent.com/ohmyzsh/ohmyzsh/master/tools/install.sh -O
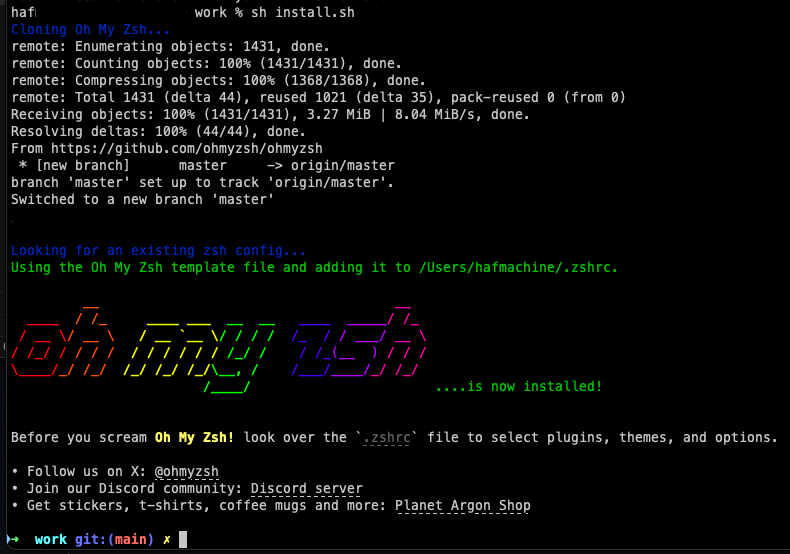
sh install.sh
After the blink of an eye, the installation is also complete.
Configuration
Now that we have covered the basics, it is time to explore configuration options with the world of themes and plugins. You are now spoiled for choice, with a wide range of options available. To avoid overwhelming yourself, consider starting with a small set of plugins. Too many plugins can slow down the startup time of your shell, so it is essential to choose wisely.
Begin by selecting a theme. The default theme, created by Robby Russell , is a good starting point for exploring configuration options. However, since Powerlevel10k seems to be less actively maintained, I decided to try Oh My Posh instead.
brew install jandedobbeleer/oh-my-posh/oh-my-posh
Some themes include icons in the prompt, which requires a special font, such as Nerd Font. Take a look at the font setup guide for instructions on selecting, installing, and configuring a suitable font.
brew search nerd-font

brew install --cask font-fira-code-nerd-font
Consider selecting a font in your terminal or IDE (e.g. VS Studio Code), such as FireCode Nerd Font Mono, to ensure that the icons display correctly.
After configuring Oh My Posh in .zshrc and restarting the shell, you will see a colorful prompt.
eval "$(oh-my-posh init zsh --config ~/.ohmyposh-config.json)"

The JSON configuration file contains all the theme’s parameters and settings. This file can be reused and customized to suit your needs.

The selection of plugins is easy, just enhance the list/array with the desired plugins in .zshrc
plugins=(git kubectl ansible)
Summary
In just a few minutes, we have successfully set up a nicely configured shell/terminal with not only colorful and helpful prompts, but also various plugins to simplify the use of common command-line tools. With these plugins, we can streamline tasks such as Git or Kubernetes interaction, and more. This concludes the article on setting up a customized shell/terminal with Oh My Zsh.
I hope you found this guide helpful in enhancing your terminal experience. Happy coding!